Step by step tutorial to install NextCloud on Rocky Linux 8 for personal cloud storage to store media files and documents using internet from anywhere; using a smartphone or desktop application.
What is Nextcloud?
Nextcloud is free open source cloud software for encrypted data storage in a cloud or on your servers. It is a client-server software and derived from another open-source known as “OpenCloud”. Also, it is a good alternative to cloud storage like Dropbox, Google Drive, and OneDrive, if someone wants a hosted personal cloud solution.
Cloud storage like Dropbox, Google Drive and OneDrive are very popular these days; one of the reasons is the automatic synchronization of users’ files with the cloud on different devices, so that data is easily accessible and not lost. Well, this installation is also present on Nextcloud.
Although these public cloud storage services are offered by large companies, they are generally safe and reliable. However, these offers also have drawbacks. They only offer their customers a limited amount of free storage space. If customers need more space to store their data, they have to pay.
NextCloud also offers two-factor authentication to better protect cloud accounts from unauthorized access. While this personal cloud server can also encrypt data to send data remotely securely, however, to improve user experience, especially for newcomers, encryption is not enabled by default. Because encryption increases the file size by about 35%. Moreover, it also comes with Healthcare and HIPAA; GDPR Compliance Kit; Auditing capabilities and file access control.
Steps to Install NextCloud on Rocky Linux 8
The steps given here will be applicable to other RedHat based Linux distributions such as CentOS, Almalinux, Oracle Linux…
1. Requirements
• Rocky Linux 8
• Apache, PHP 7.3, 7.4, 8.0
• MySQL 8.0+ or MariaDB 10.2/10.3/10.4/10.5
• non-root sudo user
• 512 MB of RAM
2. Run System Update
If you just installed a new Rocky Linux server or haven’t updated in a while, run the system update command first:
sudo dnf update & sudo dnf upgrade
Also, install:
sudo dnf install wget nano unzip
3. Disable SELinux in Rocky Linux
Once the update is complete, also put SELinux in permissive mode, which means temporarily disabling it until the next reboot. This will ensure that there are no unwanted restrictions while installing NextCloud.
sudo setenforce 0
sudo sed -i 's/^SELINUX=.*/SELINUX=permissive/g' /etc/selinux/config
To check the status:
sestatus
4. Install Apache (httpd)
As one of the requirements of NextCloud is the web server, so for this install Apache, apart from being a PHP based web application, also configure the same.
sudo dnf install httpd wget
Start and enable Apache services
sudo systemctl enable --now httpd
To check the status:
sudo systemctl status httpd
5. PHP 8.0 + extensions for NextCloud in Rocky Linux
According to NextCloud, it is recommended to use PHP 8.0. Therefore, we are going for this because the version through the default Rocky Linux repository is 7.2. Therefore, we have to add the Remi repository manually to get the latest version.
sudo dnf install epel-release
sudo dnf -y install http://rpms.remirepo.net/enterprise/remi-release-8.rpm
sudo dnf update
sudo dnf module reset php
sudo dnf module enable php:remi-8.0
To install:
sudo dnf -y install php php-cli php-mysqlnd php-zip php-devel php-gd php-mcrypt php-mbstring php-curl php-xml php-pear php-bcmath php-json php-pdo php-pecl-apcu php-pecl-apcu-devel php-ldap
5. Configure MariaDB and create a database
We also need support to store the data generated by NextCloud, here we are using MariaDB. However, you can also use MySQL, SQLite, Oracle Database and PostgreSQL if you wish.
sudo dnf install mariadb-server mariadb
Start and activate the service:
sudo systemctl enable --now mysqld
Secure database:
sudo mysql_secure_installation
Follow the text assistant.
Create a new database for NextCloud:
Login:
mysql -u root -p
Create a database user:
CREATE USER 'youruser'@'localhost' IDENTIFIED BY "yourpassword";
Create a database:
CREATE DATABASE yourdb;
Give all the rights of the created database to use:
GRANT ALL PRIVILEGES ON yourdb.* TO 'youruser'@'localhost';
FLUSH PRIVILEGES;
exit;
To note: To replace yourdb with the database name you want to give, while the youruser with username and Your password with the password you want to assign.
6. Download and install Nextcloud on Rocky Linux 8
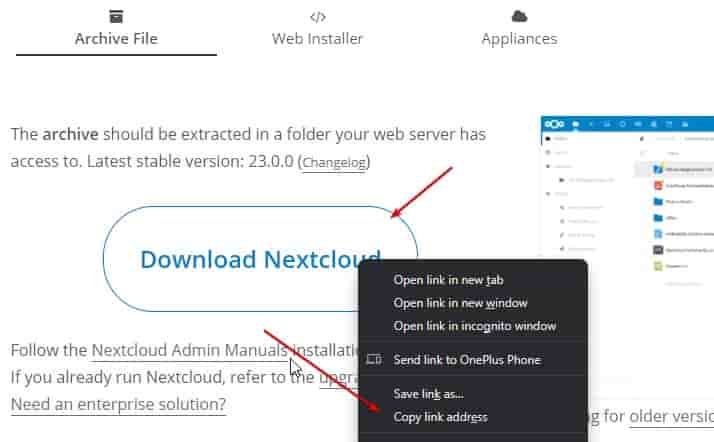
Visit NextCloud official website then download it. Right click on the To download and copy the link address.

paste the link with wget
wget paste-link
Example:
wget https://download.nextcloud.com/server/releases/nextcloud-23.0.0.zip
unzip the file:
unzip nextcloud-*.zip
Move the extracted file to /var/www/html/ phone book
sudo mv nextcloud/ /var/www/html/
Create a data folder to store uploaded data in Nextcloud
sudo mkdir /var/www/html/nextcloud/data
Now give the Nextcloud permission to the Apache user:
sudo chown apache:apache -R /var/www/html/nextcloud
7. Create an Apache VirtualHost file for NextCloud
Let’s create an Apache configuration file for NextCloud, to serve the file in case you are using the domain name or multiple websites are running on the same server.
sudo nano /etc/httpd/conf.d/nextcloud.conf
Paste the following lines:
To note: Don’t forget to replace cloud.example.com with the domain name you want to use. If you don’t have one, leave it as is.
ServerName cloud.example.com
ServerAdmin [email protected]

DocumentRoot /var/www/html/nextcloud


Require all granted
AllowOverride All
Options FollowSymLinks MultiViews
SetEnv HOME /var/www/html/nextcloud
SetEnv HTTP_HOME /var/www/html/nextcloud
Restart Apache web server and set SELinux policies:
sudo semanage fcontext -a -t httpd_sys_rw_content_t "/var/www/html(/.*)?"
sudo sudo restorecon -Rv /var/www/html
sudo systemctl restart httpd
8. Open Port in Firewall
sudo firewall-cmd –add-service={http,https} –permanent
sudo firewall-cmd –reload
9. Access the NextCloud web interface
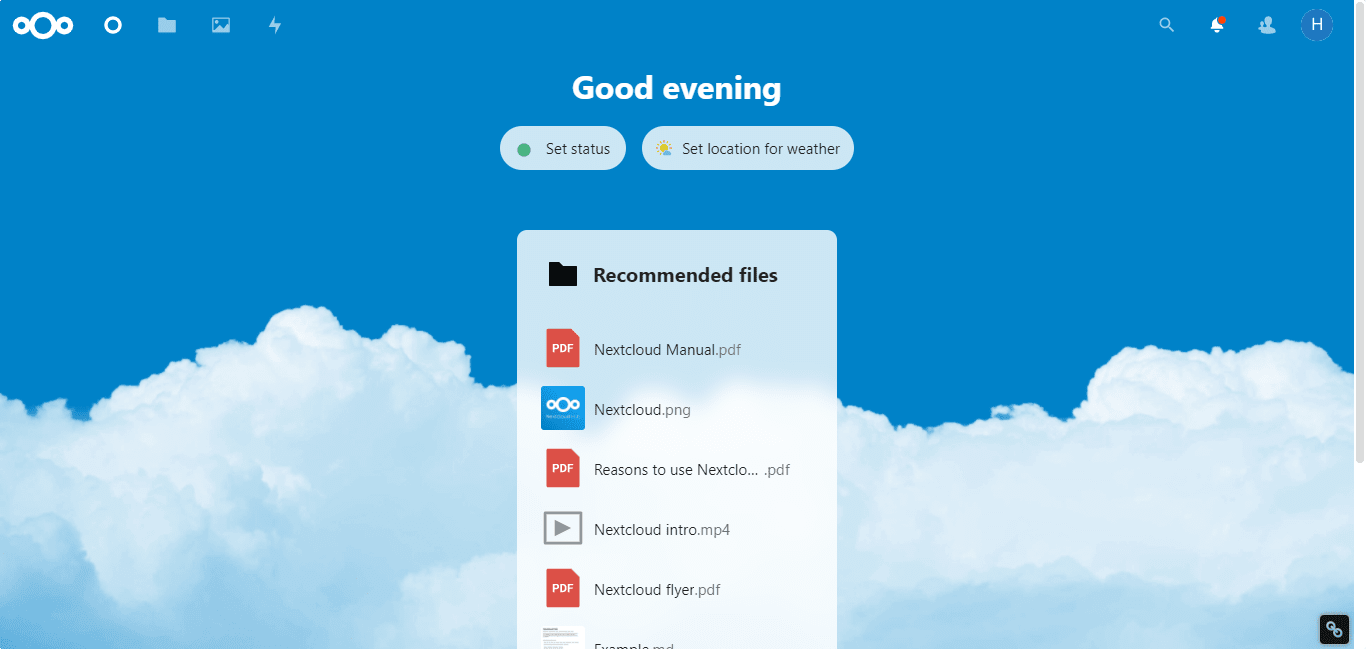
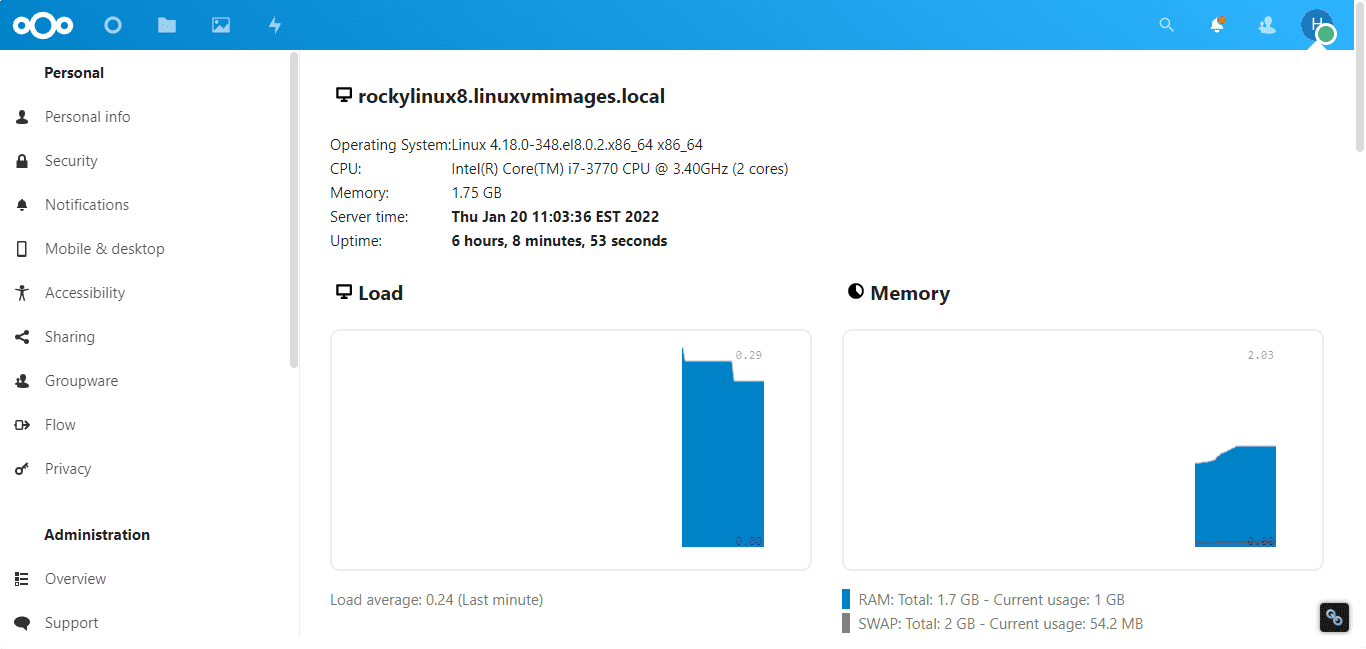
Once you have completed all the above steps, you are ready to enter the web interface to further configure NextCloud on your Rocky Linux 8 system.
Open your browser which can access the domain or IP address of the server where you installed NextCloud. After this point to the Ip or domain:
http://your-server-ip-address
or
http://your-domain.com
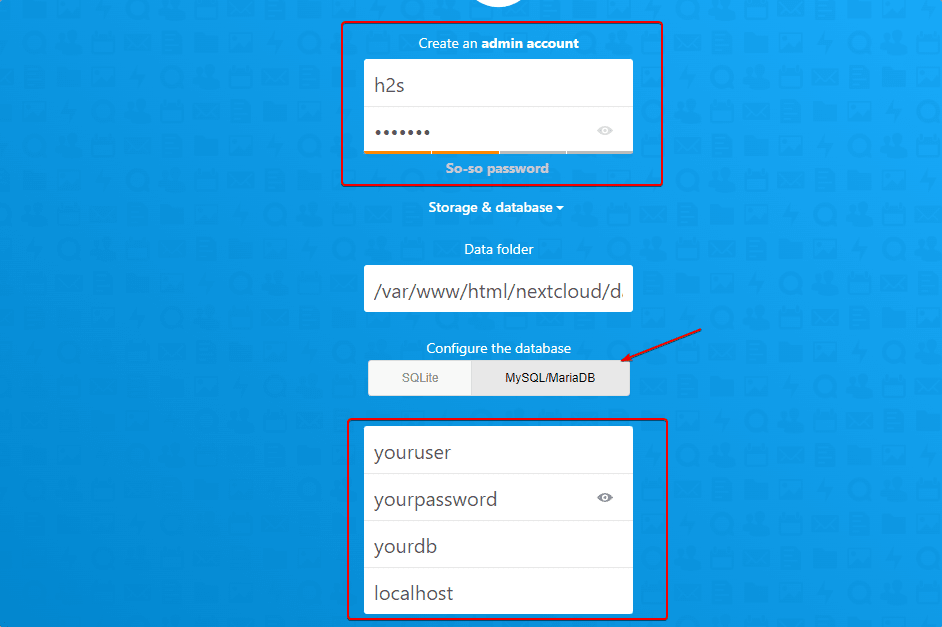
Create an admin user and enter the database details
The first page will ask you to create a Administrator user and after that select MySQL/MariaDB as a database. Enter the details of the Database you created.
After that click on the To finish button.


10. Set Let’s Encrypt SSL for NextCloud
Those who also want to set an SSL certificate should run the following commands:
To note: Make sure your domain’s DNS “A” record points to the IP address where you installed NextCloud.
sudo systemctl stop httpd
sudo dnf -y install certbot mod_ssl
sudo certbot certonly --standalone -d cloud.example.com --preferred-challenges http --agree-tos -n -m [email protected] --keep-until-expiring
Once the SSL certificate was successfully issued, modify your existing Apache configuration:
sudo nano /etc/httpd/conf.d/nextcloud.conf
Delete the existing configuration and add the following. And don’t forget to replace the cloud.example.com with the domain name you want to use navigate to NextCloud.
ServerName files.example.com
ServerAdmin [email protected]
RewriteEngine On
RewriteCond %{HTTPS} off
RewriteRule ^(.*)$ https://%{HTTP_HOST}$1 [R=301,L]


ServerName cloud.example.com
ServerAdmin [email protected]
DocumentRoot /var/www/html/nextcloud

Require all granted
AllowOverride All
Options FollowSymLinks MultiViews
SetEnv HOME /var/www/html/nextcloud
SetEnv HTTP_HOME /var/www/html/nextcloud

SSLEngine on
SSLCertificateFile /etc/letsencrypt/live/cloud.example.com/fullchain.pem
SSLCertificateKeyFile /etc/letsencrypt/live/cloud.example.com/privkey.pem
Save the file by pressing CTRL+Opress the Enter key, then exit the same using CTRL+X.
Conclusion
This way we can install NextCloud on Rocky Linux or any Redhat based system such as CentOS, Oracle Linux… Although it is a good way to set up your own personal cloud to access files remotely, some drawbacks are still there. Such as user will be responsible for maintenance, security and settings including hardware.
Other Items:
• Enable Minimize and Maximize Buttons on Almalinux or Rocky Linux
• How to Install NextCloud on Debian 11 Bullseye Linux
• Install Nextcloud client on Debian 11 Bullseye Linux
• How To Install Cockpit on Ubuntu 22.04 | 20.04 LTS
• How to Install FileZilla Client on Rocky Linux
